How to Fix Windows Won’t Use Full RAM Issue?
If your Windows operating system is not utilizing the maximum amount of RAM, there are several factors that could be contributing to this issue. In the case of a 32-bit Windows architecture, the system will be unable to use RAM to its full capacity, as a 32-bit Windows can only utilize approximately 3.2 GB to 4 GB of RAM.

Other potential issues include an outdated BIOS, an integrated GPU reserving system memory, RAM virtualization being enabled, and the possibility of damaged RAM.
We have detailed explanations of these factors below:
- Running a 32-bit Windows Version: A 32-bit version of Windows cannot fully utilize higher RAM capacities. To take full advantage of your RAM, you will need to reinstall Windows as a 64-bit version, which can support a significantly greater memory allowance, thus enabling your system to use the additional RAM for various computing tasks.
- Virtual Memory Usage: Windows utilizes a virtual memory system by default, which includes a paging file on your hard drive to augment the physical RAM. Turning off this feature is not advised as it might lead to system instability and performance issues, especially if you exceed the physical RAM limit.
- Defective or Incompatible RAM: System recognition issues may occur if your RAM is damaged or not compatible with your motherboard. In such cases, replacing the faulty RAM with compatible modules is needed.
- Outdated System BIOS: While it is rare with modern systems, an outdated BIOS can sometimes limit the amount of accessible RAM. It is beneficial to update your BIOS to the most recent version, particularly if the update resolves known issues.
- Integrated GPU Existence: Integrated GPUs allocate system RAM for graphics processing, reducing the overall available memory for other tasks. Although it doesn’t stop the system from using all available RAM, it does designate some memory exclusively for GPU use. By upgrading to a dedicated graphics card that has its own memory, you can liberate system RAM.
1. Upgrade to Windows 64-Bit
Upgrading to Windows 64-Bit enables the operating system to effectively manage more demanding applications and larger datasets, which can significantly improve overall performance and multitasking abilities. By making this upgrade, you make sure that all your installed RAM is put to good use, pushing your computing experience to new heights.
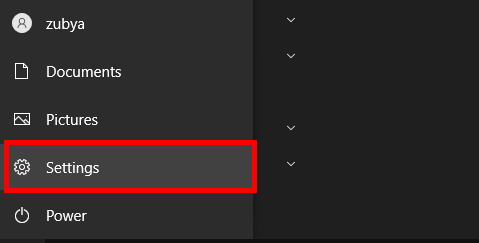
- Click on the Start Menu and type in Settings.
- Within Settings, go to System > About.
- Check your system type. If it shows as 32-bit, proceed with the upgrade steps found in this article: How to install Windows.

2. Uncheck Maximum Memory
In the case of the ‘Maximum memory’ checkbox within MSConfig, Windows may be artificially restricting the accessible RAM due to this setting. By unchecking it, you instruct the operating system to ignore any preset limits and instead utilize the maximum installable memory. This could resolve issues where the OS isn’t recognizing or using all of the available RAM.
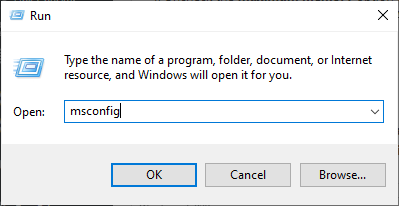
- Right-click on the Windows icon at the bottom left corner and select Run.
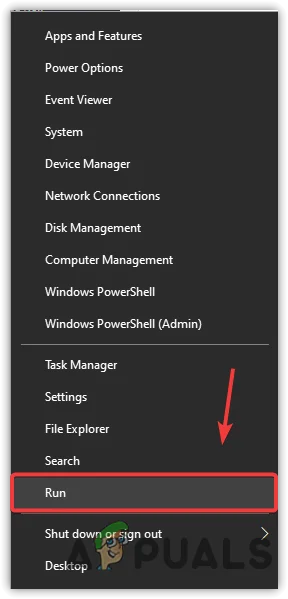
- Type MSConfig and press OK.
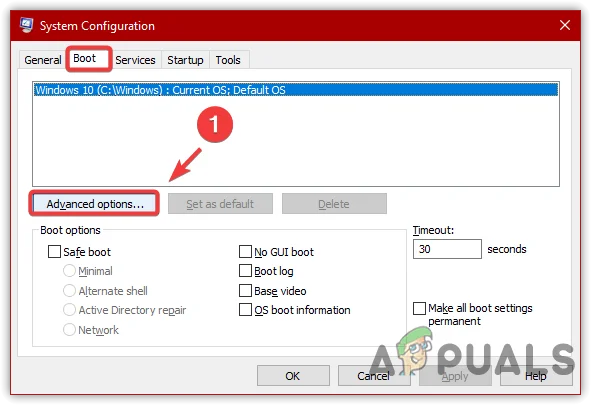
- Go to the Boot tab and select Advanced options.
- Uncheck the Maximum memory box and click OK.
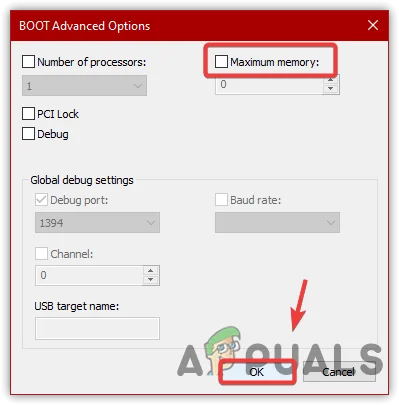
- Restart your PC to see if there is an increase in RAM usage.
3. Manage Virtual Memory
Virtual memory serves as an extension of physical RAM by temporarily transferring data to disk storage. Adjusting these settings can make sure that Windows is efficiently using the available memory resources, potentially improving system performance if physical RAM is limited.
This management can help to address issues where Windows might not be making the most of the installed RAM, particularly in scenarios where many applications are running simultaneously or when dealing with memory-intensive tasks.
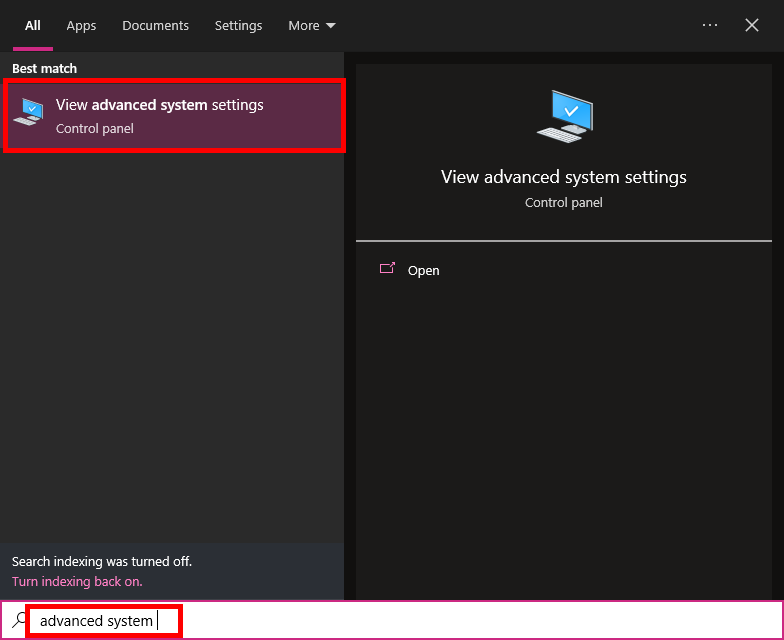
- Open the Start Menu and search for Advanced System Settings.
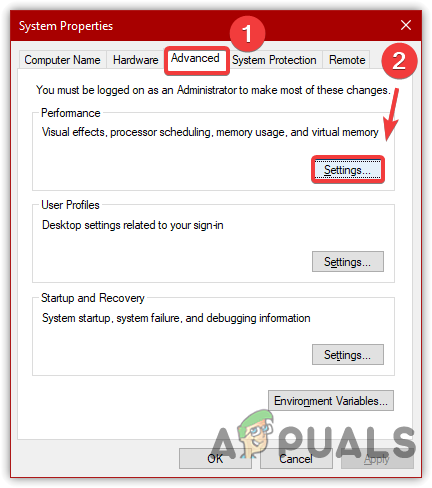
- In the Performance section, select Settings.
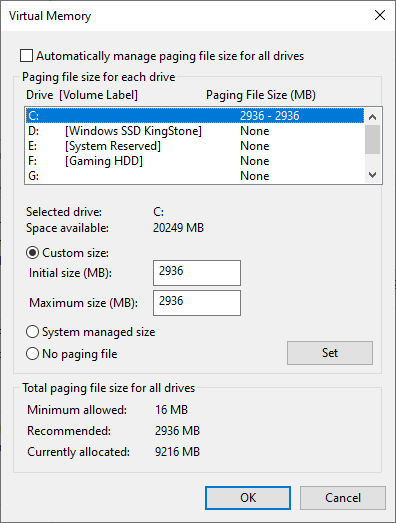
- Switch to the Advanced tab and click on Change… under Virtual Memory.
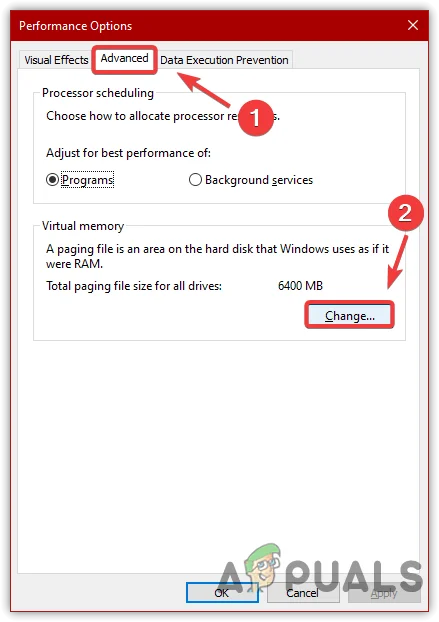
- Deselect the option to Automatically manage paging file size for all drives.
- Customize the settings as needed for your system.
Note: It is generally not recommended to disable the paging file unless you have a substantial reason and are aware of the potential outcomes. - Click OK, then restart your computer.
 Note: It is generally not recommended to disable the paging file unless you have a substantial reason and are aware of the potential outcomes.
4. Consider Upgrading to a Dedicated Graphics Card
Integrated GPUs share your system’s memory, which can detract from the RAM available for other processes. By switching to a dedicated graphics card equipped with its own video RAM (VRAM), you not only enhance graphics performance but also release system RAM previously allocated for graphics use. This freed-up memory is then available to improve overall system performance and multitasking capabilities.
5. Check Your RAM
Should your system still not fully utilize the RAM, check the hardware to ensure that the RAM is properly installed and compatible. Also, assess any damage to the RAM modules or sockets.
This involves verifying that each RAM stick is securely locked in its slot and is functioning properly. Faulty or improperly installed RAM can lead to under-utilization, as the system may not recognize some of the memory. Hence, this check can reveal if you need to reseat, replace, or upgrade your memory sticks to improve system performance and maximize available RAM usage.
6. Update Your BIOS
Keeping your BIOS updated is a good practice, although an outdated BIOS rarely restricts RAM usage in up-to-date systems. For BIOS update instructions, refer to the guide on How to Update BIOS.
7. Perform a Memory Diagnostic
By leveraging the built-in Windows Memory Diagnostic tool, you essentially dispatch a digital detective to inspect the health of your RAM modules. It methodically scans for and reports back any memory irregularity or faults, which, if present, might be the reason behind your system’s reluctance to harness the full potential of your RAM.
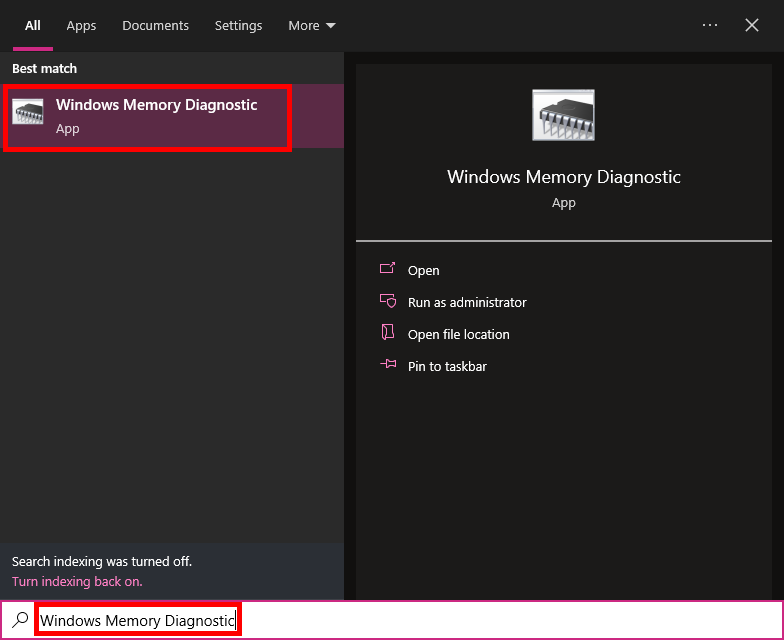
- Search for ‘Windows Memory Diagnostic’ in the Start menu and open the tool.
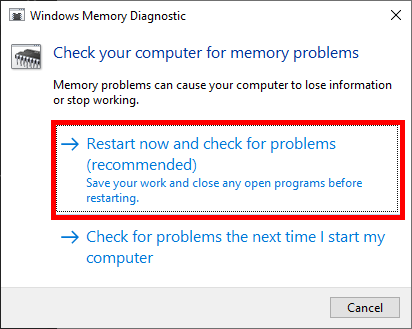
- Select the option to restart your PC and check for problems immediately.
- Once tested, Windows will reboot and provide a report on any detected memory errors.
8. Check RAM Compatibility With Your CPU and Motherboard
Incompatible memory can lead to underutilization or non-detection of installed RAM. The motherboard’s specifications determine the type, speed, and maximum capacity of RAM it can support, while the CPU can impose limitations on the memory’s speed.
Making sure that your RAM modules are compatible with both the motherboard and the CPU allows your system to utilize the full extent of the memory capacity and avoid any bottlenecks in performance. Always check the manufacturer’s documentation or use their online compatibility tools to confirm that the selected memory matches your hardware requirements.
9. Inspect for Physical Damage and Clean RAM Slots
Dust or debris in the RAM slots can affect contact and prevent the system from recognizing the full amount of installed RAM. Over time, these slots can gather debris, which interferes with the electrical connectivity between your RAM modules and the motherboard. By thoroughly cleaning the slots, you restore the clear pathway necessary for the RAM to function optimally.
This not only helps the motherboard to detect the full capacity of your installed memory but also prevents data corruption and system instability that can result from poor connections. Simple maintenance, such as a gentle blast from a can of compressed air, can therefore make sure your RAM is both recognized and performing at its intended level.
- Power off your computer and disconnect all cables.
- Open the case and cautiously remove the RAM sticks.
- Clean out the RAM slots using a can of compressed air.
- Reinstall the RAM sticks, ensuring a secure fit as they click into place.